


Many parents watch their baby struggle with feeds and want clear, practical advice; this guide shows you how anti-colic designs work so you can choose confidently. Learn why excess air causes painful gas and intense fussiness, and how vented systems or collapsible bags reduce air ingestion, preserve nutrients, and prevent vacuum pressure. Use the comparisons and quick tips to pick the bottle that eases feeding and protects your baby’s comfort.
Understanding Colic
What is Colic?
Colic is a pattern of intense, hard-to-soothe crying in otherwise healthy infants, often defined as >3 hours a day, >3 days a week for several weeks. It commonly affects about 20% of babies, peaks near six weeks, and usually improves by 3–4 months. You’ll often see bouts after feeding when your baby’s belly feels tight from gas caused by swallowing excess air; anti-colic bottles aim to reduce that air intake.
Common Causes of Colic
Swallowing air during feeds is a top cause—especially with fast flow, poor latch, or vigorous suckling. Other contributors include feeding technique, formula sensitivity, immature digestion, and gastroesophageal reflux. You’ll notice some babies react to over-aeration of milk; that’s why vented systems and collapsible bags are designed to manage or eliminate air inside the bottle.
Digging deeper, vented bottles (Dr. Brown’s, Avent) divert air away from the milk so it doesn’t mix with what your baby drinks, preserving nutrients like vitamins A, C, and E. Collapsible liners (Playtex Drop-Ins) create a near-zero-air feeding zone by collapsing as the baby drinks—useful if your infant is sensitive to any vacuum. You should also consider feeding position, paced bottle-feeding, and frequent burping; if switching bottle tech reduces crying, air ingestion was likely a major factor.
Signs and Symptoms
Typical signs are relentless crying or fussiness, a red or flushed face, clenched fists, drawing knees to the chest, and increased gas or spit-up—often worse in late afternoon or evening. Your baby may feed normally between episodes but becomes inconsolable during bouts; that pattern helps you distinguish colic from illness.
For more detail, use the Wessel guideline (>3 hours/day, >3 days/week). Watch for red flags that need prompt care: fever, poor weight gain, persistent vomiting (especially projectile), or lethargy. If those appear, seek medical evaluation. Otherwise, try paced feeds, upright positioning, frequent burping, and testing anti-colic bottle types (vented vs. collapsible) to see which reduces your baby’s swallowed air and improves comfort.

Types of Anti-Colic Bottles
| Vented Systems | Use internal tubes, straws or base vents to send air away from the nipple; examples: Dr. Brown’s, Comotomo. Proven to reduce feeding-related air ingestion and help preserve nutrients. |
| Collapsible Bag Systems | Use pre-sterilized liners that collapse as your baby drinks (e.g., Playtex Drop-Ins); deliver an vitally air-free feeding with minimal vacuum. |
| Hybrid Systems | Combine vents with flexible walls or integrated valves to balance air management and ease of cleaning; aim to cut parts while limiting air ingestion. |
| Nipple Shapes & Flow Rates | Different shapes mimic the breast and flows (slow/medium/fast or stage 0–3) affect gulping and swallowed air; match flow to age and feeding cues. |
| Other Factors | Material (glass vs. silicone), cleaning effort, ongoing cost (liners), and compatibility with breastfeeding all sway which type will work best for your family. |
- Vented Systems
- Collapsible Bag Systems
- Hybrid Systems
- Nipple Shapes
- Air Management
Vented Systems
You’ll find vented bottles use a straw, tube or vent disk to route air away from the nipple so the milk stays uninterrupted; brands like Dr. Brown’s show measurable reductions in swallowed air and help preserve vitamins A, C and E. You should expect more parts to wash, but you’ll also get a steady, natural flow many breastfed babies accept.
Collapsible Bag Systems
These rely on a single-use or replaceable liner that collapses as your baby drinks, giving you an vitally vacuum-free, air-free feed and very quick cleanup—examples include Playtex Drop-Ins. You’ll pay more for liners long-term, but cleanup and sterilization are faster.
In practice, liners often come in packs of 24–36 and cut cleaning time dramatically; however, they can stick together or misseat and cause leaks or tiny air pockets if not fitted correctly. You should inspect each liner for pinholes, press out trapped air before closing, and store spares flat. Note the environmental trade-off from disposable liners and plan accordingly.
Hybrid Systems
Hybrids mix venting channels or valves with flexible bottle designs to reduce swallowed air while limiting the number of removable parts you must wash; they aim to strike middle ground between full vent systems and liners. Many parents pick hybrids when they want less fiddly cleanup but still need strong air control.
Manufacturers implement hybrids in different ways: some add a one-piece valve in the nipple, others use a partial vent plus a flexible wall that compresses slightly. You should weigh how many seams and valves are present—fewer moving parts lowers cleaning time, while strategically placed vents maintain continuous flow and reduce gulping. Hybrids are often a good choice if your baby alternates between bottle and breast.
Nipple Shapes and Flow Rates
You must match nipple shape and flow to your baby’s feeding style: wide, breast-like nipples help breast-fed babies latch; slow flows (stage 0–1) prevent gulping in newborns, while older infants often need medium or fast flows. Mis-matched flow can increase air swallowing and fussiness.
When choosing, look for silicone nipples that keep their shape, vent-integrated nipples that reduce collapse, and clearly labeled flow stages. You should test one flow up or down if your baby gulps, chokes, or finishes too fast—observe suck-swallow-breathe rhythm and switch flows accordingly to reduce swallowed air and spit-up.
Recognizing that no single bottle fits every baby, choose the system that matches your baby’s sensitivity to vacuum, your tolerance for cleaning, and your budget.
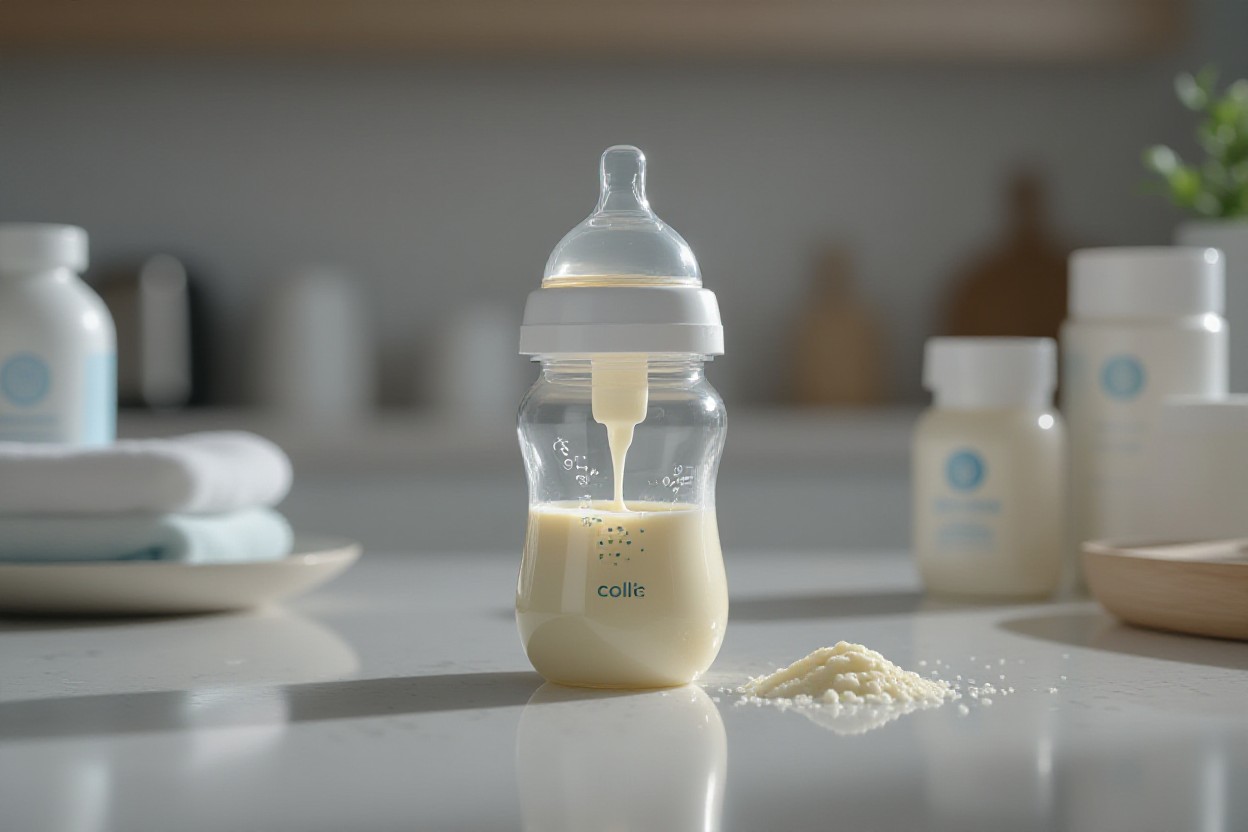
Factors to Consider When Choosing an Anti-Colic Bottle
- Material Safety — glass, silicone, or plastics and how they stand up to heat and wear
- Ease of Cleaning — number of parts, dishwasher/sterilizer compatibility
- Baby’s Feeding Preferences — nipple shape, flow rates, breast vs. bottle cues
- Budget Constraints — initial cost versus ongoing expenses (liners, replacement nipples)
Material Safety
You want a bottle made from truly BPA-free materials and, if you worry about leaching, consider glass or medical-grade silicone; glass resists heat and won’t absorb odors, while silicone is soft and drop-resistant. Manufacturers recommend boiling or steam-sterilizing many bottles—boil for about 5 minutes or use a 100°C steam cycle—but always follow the brand’s guidance to avoid warping or degrading seals and vents.
Ease of Cleaning
Vented bottles often have 6–10 parts (bottle, nipple, cap, vent/stray, disk, collar), so cleaning takes longer and needs thorough inspection for trapped milk; liners or drop-in systems cut washing to one bottle and a disposable bag, but add replacement work. Look for dishwasher-safe labels and wide-neck profiles that let you fit a brush easily to reduce cleaning time.
In practice, a vented system can add roughly 5–10 extra minutes per feeding cycle to disassemble and clean—you’ll want a long-handled brush and a one-piece vent option to save time. If you use a sterilizer, check that all vent parts are compatible; some small tubes trap milk and require soaking. Drop-in liners save scrubbing but raise the risk of occasional leaks if not seated perfectly, so factor in quick visual checks during each change.
Baby’s Feeding Preferences
Some babies prefer a wide, breast-like nipple such as those on Comotomo or Nanobébé, while others feed better with a firmer, paced flow; nipples come in 0–1–2–3 flow sizes, so try matching the stage to your baby’s age and swallow strength. Watch for cues: gumming, choking, or pulling away signal a mismatch in flow or shape.
To test preferences, offer two bottle types over a 24–48 hour window—one vented and one collapsible—and note which reduces gulping and fussing. If your baby spits, coughs, or seems to gulp air, switch to a slower flow or a different nipple geometry; small changes (wider base, softer silicone) often cut gas and make feeds calmer.
Budget Constraints
Initial costs vary: basic bottles run about $8–$25 each, while specialty vented or silicone models sit in the $15–$40 range. Vented systems have low ongoing costs (occasional replacement nipples), whereas collapsible liners carry a steady expense—expect to add a few dollars to your monthly budget if you use single-use bags regularly.
Factor in replacement schedules: nipples often need swapping every 2–3 months or sooner if worn, and vents can wear out or clog; glass and silicone bottle bodies last longer and can lower lifetime cost despite higher up-front price. If you pump and bottle-feed exclusively, calculate monthly liner use versus extra cleaning time to see which model truly saves you money and effort.
Any decision should balance safety, cleaning tolerance, your baby’s comfort, and ongoing cost.
Pros and Cons of Anti-Colic Bottle Technologies
| Pros | Cons |
|---|---|
| Reduces swallowed air vs. standard bottles, lowering fussiness and spit-up. | Some systems still allow small pockets of air; not every baby responds the same. |
| Vented systems can preserve nutrients (Dr. Brown’s shows retention of vitamins A, C, E). | Require more parts to wash (nipple, bottle, vent, cap), increasing cleaning time. |
| Collapsible bag systems are virtually vacuum-free—excellent for vacuum-sensitive babies. | Ongoing cost for replacement liners can be high if you use multiple bags per day. |
| Many designs mimic breast shape or flow, helping breastfed babies transition between breast and bottle. | Some bags can stick, tear, or leak if inserted incorrectly—risking wasted milk and mess. |
| Hybrid models often cut down on parts to wash (typically 2–3 pieces), saving time. | Hybrids may be pricier up front and still not eliminate all vacuum-related issues for some infants. |
| Wide-neck, soft silicone bottles (Comotomo/Nanobébé) improve latch and comfort for some babies. | Soft silicone can attract residue and require more thorough scrubbing compared with rigid bottles. |
| Disposable liners allow rapid cleanup—you can toss after use, saving sterilization steps. | Environmental impact is higher with single-use liners unless you choose recyclable options. |
| Vented systems offer steady flow control that many babies accept quickly. | Vents can clog with thick formula or expressed milk unless cleaned immediately after feeds. |
| Costs vary: initial buy is typically moderate across tech; you can find reliable options under $20–30. | Long-term expense differs: vents = low ongoing cost; bags = ongoing liner purchases. |
| Overall, you can match bottle tech to your priorities: cleaning time, cost, or total air exclusion. | No single bottle guarantees elimination of all colic symptoms—feeding technique and positioning still matter. |
Vented Systems: Advantages and Disadvantages
You’ll get a steady, continuous flow with vented bottles, which often helps babies feed calmly and can preserve nutrients (Dr. Brown’s data on vitamins A, C, E). Expect better compatibility with breastfed infants and fewer vacuum pulls, but you’ll also face more parts to clean and occasional vent clogging, so plan for extra washing and daily inspection of vent channels.
Collapsible Bag Systems: Advantages and Disadvantages
You’ll appreciate that bag liners create an almost completely air-free feeding zone—great for babies very sensitive to vacuum—and cleanup is fast because you can toss liners. On the downside, you’ll incur an ongoing cost for replacement bags and must watch for bags that stick or leak if not seated properly.
Playtex Drop-Ins are a clear example: the bag collapses as your baby drinks, which mimics breastfeeding and can reduce gas quickly. If you feed 4–6 times per day, you could use roughly 120–180 liners a month, so factor that into your budget and waste choices. Many parents report several-minute savings per feed on cleanup, but you should test fit and integrity of each bag to avoid spills.
Hybrid Systems: Advantages and Disadvantages
You’ll find hybrids aim to balance performance—combining venting elements with simplified parts—so many models leave you with only 2–3 pieces to wash. They can be easier to maintain than full vent systems, yet might not remove every vacuum effect, and you may pay a bit more for the blended design.
Hybrids often use a removable vent or a soft body with an internal channel, giving you a compromise between nutrient preservation and low maintenance. In practice, hybrids suit parents who want better air management than a basic bottle but don’t want the daily liner expense; expect moderate upfront cost and improved cleaning times, but still check flow and vacuum behavior with your baby during the first few feeds.
Step-by-Step Guide to Using Anti-Colic Bottles
| Quick Steps at a Glance | |
| Preparing the bottle | Inspect parts, assemble vent according to the manual, test flow, warm to ~37°C (98°F), purge visible air bubbles by tilting and tapping. |
| Feeding techniques | Keep nipple filled, hold baby at a 30–45° angle, use paced feeding (pause frequently), burp every 2–3 oz or when baby pauses. |
| Cleaning & sterilizing | Disassemble all parts, scrub vents with a thin brush, boil 5 minutes or use steam/microwave sterilizer, air-dry on a clean rack. |
Preparing the Bottle for Use
Check each piece for cracks or sticky residue and discard any damaged nipples or cracked parts. Assemble the vent system exactly as the manufacturer shows—straws, disks, or base vents must seat fully to work. Warm feeds to about 37°C (98°F) and tilt the bottle so the nipple stays full; tap gently to release trapped bubbles and test flow for a steady stream before you offer it to your baby.
Feeding Techniques for Reducing Colic
Hold your baby semi-upright at a 30–45° angle and keep the nipple filled with milk so no air enters the mouth. Use paced feeding—offer short stretches of milk, pause when baby slows, and burp after every 2–3 ounces or at natural pauses. Watch for gulping, frantic sucking, or coughing; if you see those signs, slow the flow or switch to a slower nipple size.
For paced feeding, sit upright and support your baby’s head, tip the bottle so the nipple stays full, and let your baby set the rhythm—give 10–20 second pauses every few sucks to mimic breastfeeding. Rotate through burping positions (over your shoulder, sitting supported, or tummy-down on your lap) and try short tummy compressions or gentle leg bicycling to move trapped gas. Match nipple flow to age: newborns often need a slow (level 0–1) flow, while older infants handle medium flows—swap if you see coughing, drooling, or very fast feeding.
Cleaning and Sterilizing Bottles
Immediately rinse used bottles, then fully disassemble vent systems and scrub with a bottle brush and a thin vent/ straw brush. Sterilize by boiling parts for 5 minutes or using a steam sterilizer or microwave sterilizer bag per the bottle’s instructions. Air-dry on a clean rack and replace any worn or warped parts before next use.
Pay special attention to small vent components: soak them in warm soapy water and push a pipe-cleaner or vent brush through small holes—leftover milk can hide inside vents and promote bacteria. If you use collapsible liners (Playtex Drop-Ins), discard after each feed. Many silicone bottles (Comotomo, Nanobébé) are dishwasher-safe on the top rack; vented systems like Dr. Brown’s require disassembly and extra brushing. Sterilize daily for newborns or preterm infants and reduce frequency as your baby’s immune system matures, following manufacturer timelines for part replacement.
Tips for Managing Colic
- Burp often—pause every 2–3 minutes during feeds to release swallowed air.
- Match nipple flow to your baby’s pace; slow flows reduce gulping and air ingestion.
- Use the right anti-colic bottle for your baby (vented system vs. collapsible bag).
- Keep feeds calm and consistent to limit overstimulation and extra swallowing.
- Track feeds, naps, and crying in a simple log to spot patterns within 3–7 days.
- If you see fever, projectile vomiting, poor weight gain, or trouble breathing, call your pediatrician immediately.
Creating a Calming Environment
Dim the lights, lower background noise, and aim for a steady room temp (about 68–72°F). You can use white noise at safe volumes and swaddle for shorter babies who like pressure; these steps reduce fussing and limit the frantic, air‑swallowing sucking that worsens colic. Keep feeds in the same spot so your baby associates the setting with calm.
Feeding Positions to Try
Hold your baby semi‑upright at roughly a 30–45° angle so the head is above the stomach; this lowers the chance they gulp air. Try the football hold for reflux-prone infants, and ensure the nipple stays full of milk—this works with both vented system and collapsible bag bottles to reduce bubbles.
Support the head and jaw so your baby latches easily and keeps lips sealed around the nipple; you should see rhythmic sucking and swallowing. Pace feeds by pausing after 6–8 sucks to let your baby breathe, then burp after each break. Use newborn/slow flow nipples (level 0–1) to prevent fast flow; many parents report a 20–40% drop in crying time after switching to slower flow and upright holds.
Additional Remedies and Strategies
Try gentle tummy massage, bicycle‑leg exercises, and short, supervised tummy time after feeds to move gas. Consider over‑the‑counter options like simethicone or gripe water, and discuss probiotics (Lactobacillus reuteri) with your pediatrician because studies show mixed benefits depending on feeding type.
Introduce one change at a time and keep a simple chart of crying minutes and feeding notes; track for 3–7 days to judge impact. If you try a product, follow the manufacturer’s dosing and your doctor’s guidance; avoid combining multiple new remedies at once so you can see what helps. After consulting your pediatrician if symptoms persist or you notice any danger signs.
Conclusion
Summing up, you choose between vented systems and collapsible bags by focusing on your baby and routine: • Vented — steady flow, preserves nutrients; • Collapsible bag — truly air-free, easy cleanup. Watch your baby’s comfort and feeding cues, test one option, and switch if needed. With the right bottle and a calm feeding approach, you reduce swallowed air and help your baby be less fussy.